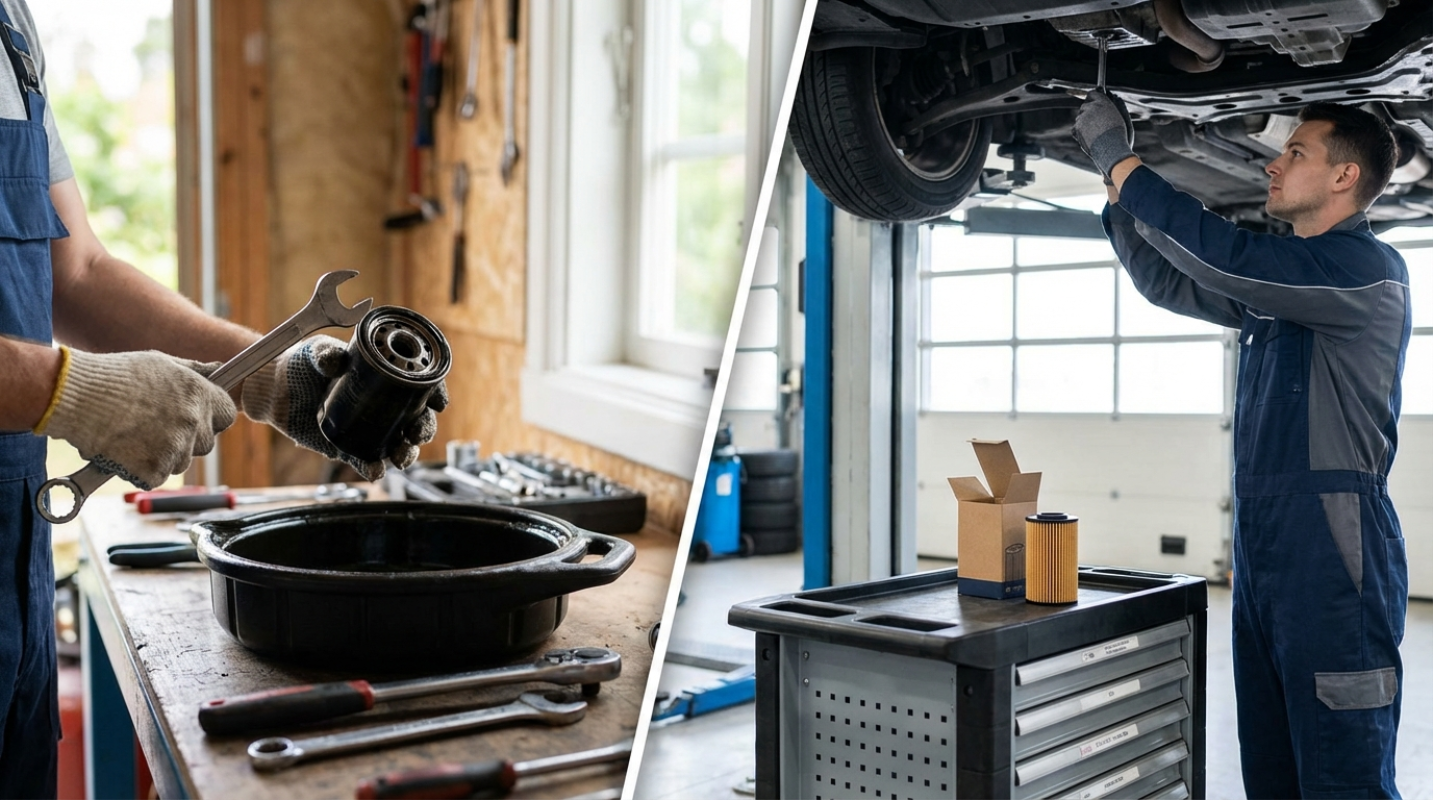
Just like you need to breathe clean air to stay healthy and active, your car’s engine needs to breathe clean air to run at its best. Deep inside your engine, a carefully controlled explosion of air and fuel is what creates power. But the air on the open road isn't exactly pure. It's full of dust, pollen, bugs, leaves, and all sorts of other debris. The engine air filter is the unsung hero that stands guard, preventing all that gunk from getting sucked into the sensitive parts of your engine. A clogged air filter is like trying to run a race while breathing through a coffee stirrer. It suffocates your engine, hurting its performance and making it guzzle more gas. Learning how to change your own air filter is one of the easiest, fastest, and most satisfying DIY car maintenance tasks you can do. It takes just a few minutes, requires minimal tools, and can save you money while making your car happier.
Why a Clean Filter Matters So Much
Before we get our hands dirty, it's important to understand just why this simple paper rectangle is so crucial. A clean air filter allows a massive volume of clean air to flow freely into the engine. This optimal airflow helps the engine burn fuel more completely and efficiently. The result is better acceleration and horsepower. When the filter gets clogged with dirt, it restricts that airflow. The engine has to work harder to pull air in, which can lead to a noticeable decrease in power and a sluggish feeling when you step on the gas. More importantly, this inefficiency hurts your fuel economy. A struggling engine is a thirsty engine, and a dirty air filter can cause you to use more gas than necessary. Over a year, that extra fuel cost can easily add up to more than the price of several new filters. Plus, letting dirt get past a worn-out filter can damage expensive internal engine components, like sensors and cylinders.
Finding the Right Filter for Your Ride
The first step in this adventure is getting the correct replacement filter. Not all air filters are created equal; they come in different shapes and sizes designed for specific makes and models. You can't just grab any one off the shelf. The easiest way to find the right part is to visit an auto parts store. You can tell the person at the counter your car’s year, make, and model, and they will look it up in their computer system and find the exact filter you need.
Many stores also have a catalog or a touch-screen kiosk where you can look up the part number yourself. It's a good idea to write down the part number so you can easily buy the right one next time. You can also find this information in your car’s owner’s manual or by searching online. Once you have your shiny new filter in hand, you're ready for the fun part.
Locating the Air Filter Housing
Now it's time to pop the hood and find where the air filter lives. Don't be intimidated by all the wires and hoses in the engine bay. The air filter is housed inside a large plastic box, which is usually black. This box is called the air filter housing or airbox.
To find it, look for a large, thick rubber or plastic hose that runs from the front of the engine bay toward the engine itself. This hose is the air intake, and it leads directly to the airbox. The box will be rectangular or square and is typically located near one of the sides of the engine compartment. It's designed to be opened easily, as this is a part that needs regular service. Once you’ve located the airbox, you're just moments away from completing your mission.
Opening the Airbox
This is where you might need a simple tool, though sometimes you won't need any at all. The lid of the airbox is held down by several clips or screws. Look around the perimeter of the box. If you see metal clips, you can usually undo them with just your fingers by prying them off. They are spring-loaded, so they’ll pop right off. If you see screws, you’ll likely need a Phillips-head or flat-head screwdriver to remove them.
Sometimes it might be a small nut that requires a socket wrench. Whatever the fastener, simply unclip or unscrew them all. You don’t always have to remove the screws completely; often, just loosening them is enough to allow the lid to open. Once all the fasteners are released, you can lift the lid of the airbox. It might be attached to the intake hose, so you may only be able to lift it up a few inches and prop it open. That’s all the space you’ll need.
The Big Swap
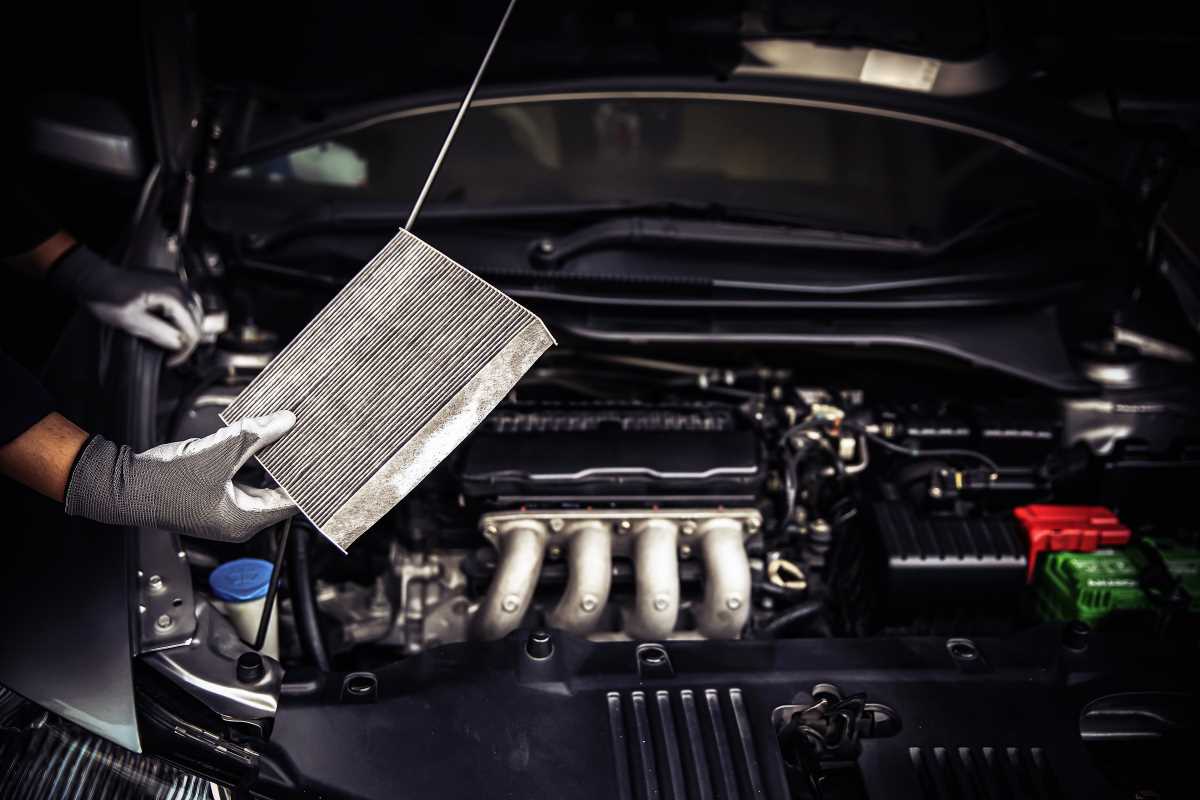
With the airbox open, you will see the old air filter sitting inside. It will likely be gray or black with dirt and might even have some leaves or dead bugs on it. Take a moment to admire how much junk it has stopped from getting into your engine. Carefully lift the old filter straight out. Before you put the new one in, take a clean rag or a shop vacuum and wipe out the inside of the airbox.
Get rid of any loose leaves, dust, or debris that fell in. This ensures your new filter starts its life in a clean environment. Now, take your new filter and compare it to the old one to be sure it's the right size and shape. Place the new filter into the airbox, making sure it sits flat and snug. There is usually a rubber rim around the filter that creates a seal. You want to make sure this seal is seated properly all the way around so that no unfiltered air can sneak past the edges.
Closing Up and Finishing the Job
Once the new filter is sitting perfectly in its place, it's time to close everything up. Lower the lid of the airbox back into position. Make sure it lines up correctly and sits flush. Then, re-engage the clips or tighten the screws that you removed earlier. Go around the box and ensure all fasteners are secure. You want the lid to be held down tightly to maintain that all-important airtight seal.
If you were using any tools, make sure you collect them and don't leave anything behind in the engine bay. That's it! Close the hood, give yourself a pat on the back, and you're done. You've just performed a key piece of maintenance that will help your car run better, breathe easier, and save you money. It’s a simple task that makes a real difference in the health and performance of your vehicle.
Articles on affordableautomotiveservice.com are for informational purposes only and do not provide professional or legal advice. Consult an expert before making decisions. We are not responsible for actions taken based on this content.
.png)