You’ve just washed your car, the sun is hitting the paint perfectly, and then—you see it. That thin, jagged line of imperfection. Whether it’s from an errant shopping cart, a careless passenger, or just unavoidable road debris, finding a new scratch on your perfectly polished ride is enough to ruin your day. Sound familiar? The immediate reaction is usually panic, followed by the assumption that you’ll be spending hundreds of dollars at a body shop. But here’s the good news: most minor paint blemishes are easily fixable right at home, often in less than an hour, and for less than the cost of a tank of gas. We’re not talking about deep gouges that expose bare metal, but rather those annoying surface abrasions—the ones that only affect the clear coat. Understanding this distinction matters. If the scratch is superficial, you can often restore your car's flawless finish with a few simple tools and techniques.
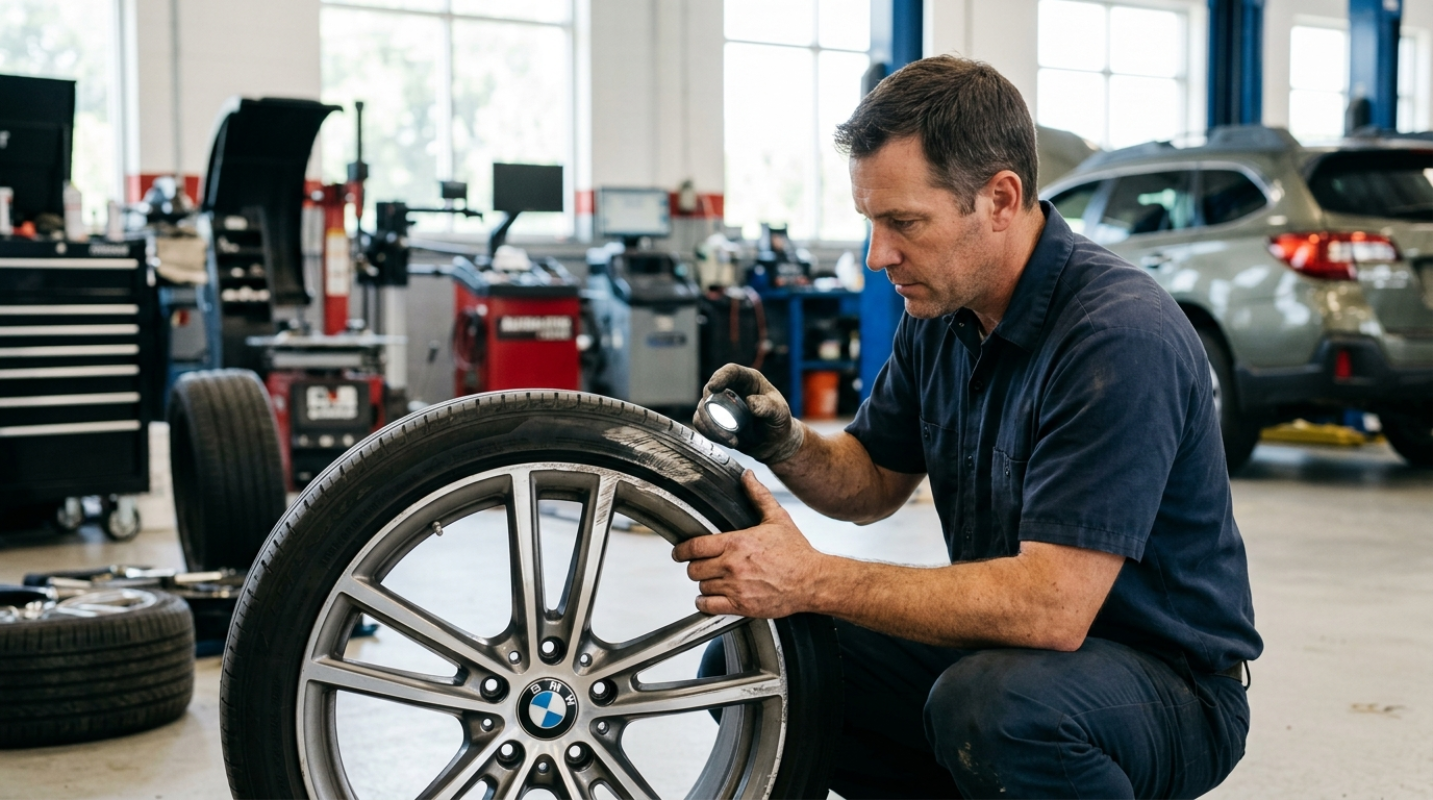
Assess the Damage – The Fingernail Test
Before you grab any product, you must correctly identify the depth of the scratch. Applying an abrasive compound to a scratch that’s too deep is a waste of time and effort. You need to know if you’re dealing with a cosmetic issue or structural damage.
The easiest diagnostic tool you have is your own hand: the fingernail test.
Gently run your fingernail perpendicular across the scratch. If your nail catches or snags in the groove, the damage has likely penetrated the clear coat and gone into the colored base coat, or even the primer. If this happens, you’ll need a filler (touch-up paint).
But if you feel only a minor interruption, or if the scratch seems to disappear when you wet the area, you’re in luck. You are dealing with damage confined entirely to the clear coat. These light surface abrasions, often called swirl marks or spider-webbing, are prime candidates for a quick DIY repair.
Fixing Superficial Scratches
For those light, clear-coat-only scratches, the solution isn't to fill the void; it's to remove the microscopic layer of clear coat around the scratch until the surface is level again. This is where abrasive compounds shine.
Think of the scratch as a canyon. You use the compound to flatten the mountain peaks on either side of the canyon until the entire surface is flat and smooth.
You have two main options here: dedicated scratch removal kits or standalone rubbing compounds. Many consumers prefer the all-in-one kits because they simplify the process. Like, the Meguiar's Quik Scratch Eraser Kit is highly praised because it often includes a drill attachment pad, making application faster and more uniform for novices, and it’s budget-friendly, sometimes retailing for under $20.
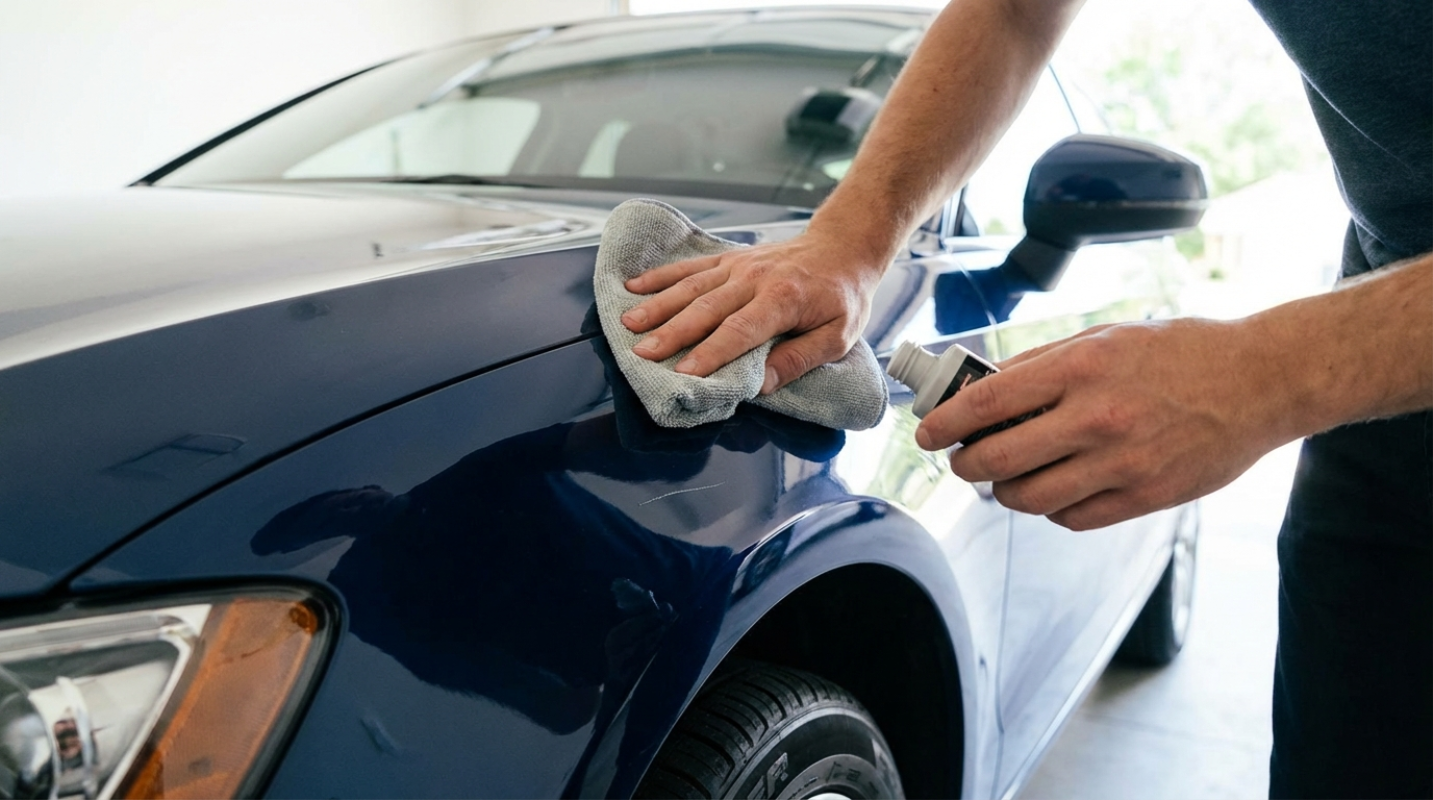
Application Process for Compounds
- Clean: Thoroughly wash and dry the area to remove all contaminants.
- Apply: Dab a small amount of the compound (like Meguiar's Ultimate Compound or Carfidant Scratch and Swirl Remover) onto a foam applicator pad or microfiber cloth.
- Buff: Work the product into the scratch using firm, overlapping circular motions. Compounds use micro-abrasive technology to gently level the paint.
- Wipe: Wipe away the residue immediately with a clean microfiber towel.
If the scratch was truly superficial, it should be gone. For slightly deeper clear coat damage, you might need a more aggressive product, like a three-stage 3M system. But be careful: aggressive compounds require an electric drill and too much pressure can burn through the clear coat, especially on sharp body edges.
When the Scratch Hits Deeper
If your fingernail caught the scratch, or if you can see the white or gray primer underneath the color, you need to stop leveling and start filling. This is needed not just for looks, but for preventing rust and further paint degradation.
The solution here is touch-up paint. But you can’t just guess the color. You need to match your car’s exact paint code, usually found on a sticker inside the driver’s side door jamb, the glove box, or under the hood. Using the correct code make sures the new paint blends seamlessly with the factory finish.
The Art of Precision Application
Applying touch-up paint requires patience and a light hand. The goal is to fill the void, not paint a stripe across your car.
- Preparation: Clean the scratch with soap and water, followed by a wax and grease remover. This make sures the new paint adheres properly. If the scratch is down to the bare metal, apply a very thin coat of primer first, allowing it to dry for at least 20 minutes.
- Basecoat: Apply the color coat in several thin layers. Do not brush the paint on; instead, use a fine-tipped tool—a toothpick, a fine artist’s brush, or even a syringe needle—to blot the paint directly into the scratch or chip. This technique helps the paint settle and minimizes visible lines.
- Drying: Allow each coat to dry for 20 minutes to overnight. Paint shrinks as it dries, so you need multiple layers to build the paint up to just above the surrounding surface.
- Metallic Warning: If you have metallic paint, do not mix the basecoat color with the clear coat beforehand; this dilutes the metallic shimmer and guarantees a color mismatch.
- Clearcoat: Once the color is built up, apply a couple of thin layers of clear coat over the repair, allowing 10–20 minutes between coats.
Top Recommendations for DIY Repair
These highly-rated products are consistently reported by consumers as the best options for handling minor car scratches in 2026.
The Final Polish: Sealing and Protecting Your Repair
After you’ve successfully used compound or touch-up paint, the repair might look slightly dull or raised. Don’t worry; the job isn't quite finished.
If you used touch-up paint, let the clear coat fully cure—usually 24 hours or more. For the most professional results, you can use extremely fine sandpaper (2500-grit) and water to gently level the new paint blob with the surrounding factory finish. This is an advanced technique, but it’s what separates a "good" repair from an invisible one.
Whether you used a compound or touch-up paint, the important final step is sealing the area. Applying a quality wax or sealant protects the new paint layers and restores the high-gloss shine, helping the repaired area blend seamlessly with the rest of the car’s exterior.
Taking the time to fix these minor blemishes immediately keeps your car looking great but also prevents small issues from turning into major, costly problems down the road. Keep a good compound and your touch-up paint pen handy, and you’ll be ready for the inevitable next scratch.
.png)