Rubber seals lining the door frames serve as the primary defense against environmental intrusion. These components, often overlooked during routine detailing, function as barriers against wind noise, moisture, and temperature fluctuations. Over months of exposure to heat and friction, rubber loses its elasticity and begins to degrade. Maintaining these seals preserves the acoustic integrity of the interior and prevents the structural damage associated with water leaks.
Decontamination of Rubber Surfaces
Accumulated road grime acts as an abrasive every time a door opens or closes. This friction wears down the outer layer of the weatherstripping, leading to a loss of sealing pressure.
- Non-Detergent Cleaning: Avoid harsh degreasers that strip the natural oils from the rubber. Use a pH-neutral solution or a dedicated product like P&S Detail Products Interior Express to lift dirt.
- Groove Clearance: Dirt often hides in the hollow channels of the bulb seal. Use a soft-bristled brush to reach into these folds where mold can develop due to trapped moisture.
- Surface Neutralization: After washing, wipe the rubber with a damp cloth to remove any remaining surfactants. Soap residue left on the surface can accelerate drying and cracking when exposed to the sun.
- Microfiber Drying: Moisture trapped between the seal and the metal frame can lead to rust. Use a plush microfiber towel to ensure the entire perimeter is dry before applying any conditioners.
Structural Integrity Inspections
A visual and tactile review identifies failure points before they manifest as cabin leaks or annoying whistles at highway speeds.
- Pliability Checks: Run a thumb along the length of the seal. The material should feel soft and bounce back immediately after compression. If the rubber feels hard or "plastic-like," it has reached the end of its functional life.
- The Paper Tension Test: Place a sheet of paper across the door frame and shut the door. Pull the paper slowly. If it slides out with zero resistance, the seal has flattened or lost its shape, allowing air to bypass the barrier.
- Contact Point Alignment: Inspect the metal frame of the car where the rubber meets the body. Marks or scuffs in specific spots indicate the door is misaligned, putting uneven pressure on the weatherstripping.
- Corner Stress Evaluation: The tight bends at the top of the window frame are the most common spots for tearing. Look for "spider-web" cracking in these high-stress zones.
Rejuvenation and UV Shielding
Rubber is a porous material that requires hydration to remain flexible. Without a protective layer, ultraviolet radiation breaks down the molecular bonds of the polymer.
- Silicone Saturation: Apply a specialized lubricant like 303 Aerospace Protectant or Honda Shin-Etsu Grease. These formulas penetrate the rubber rather than just sitting on top, restoring the deep black color and flexibility.
- Application Technique: Use a foam applicator to apply a thin, even coat. Avoid spraying directly onto the door to prevent overspray on the upholstery or glass.
- Friction Reduction: Properly conditioned seals prevent the "sticking" effect often felt in freezing temperatures. This prevents the rubber from tearing away from the metal when you pull the handle on a cold morning.
- Biannual Intervals: Apply conditioners at the start of summer to block heat and again before winter to prevent freezing and cracking.
Adhesive and Tear Repair
Minor physical damage does not always necessitate a full replacement of the weatherstripping. Targeted repairs can extend the life of the original part.
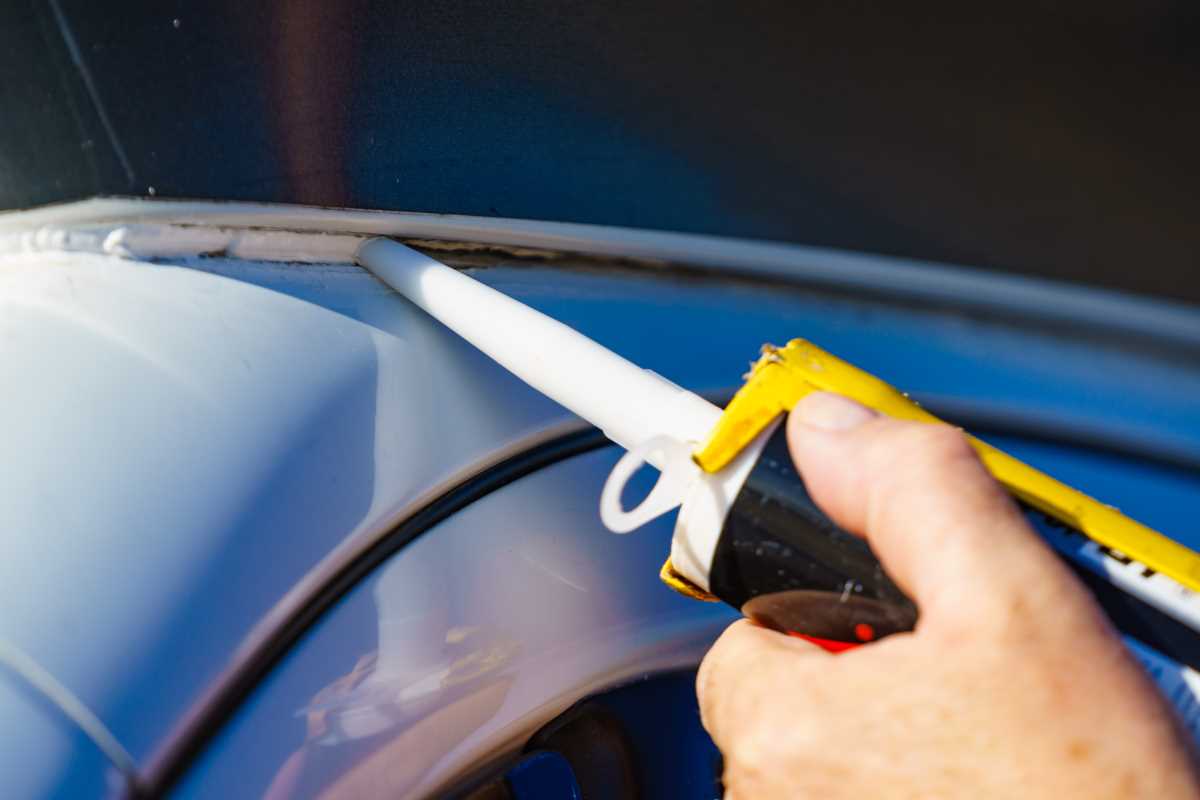
- Bonding Loose Sections: If the seal is sagging or pulling away from the track, use 3M Black Weatherstrip Adhesive. This professional-grade glue creates a permanent, waterproof bond between the rubber and the painted metal.
- Urethane Gap Filling: For small punctures or tears in the hollow portion of the seal, a small amount of black RTV silicone can bridge the gap. This prevents wind from entering the "tube" of the seal and creating a whistling sound.
- Curing Protocols: When using adhesives, keep the door open for at least thirty minutes to allow the bond to set. Closing the door too early can cause the seal to shift or glue the door shut.
- Replacement Thresholds: If a section of rubber is missing entirely or has crumbled into powder, patches will fail. In these cases, sourcing an OEM replacement part is the only way to restore the factory-quiet ride.
Secondary Seal Oversight
Modern vehicles often feature multiple layers of protection, including seals on the body and the door itself.
- Sill Plate Maintenance: The seals at the bottom of the door take the most abuse from shoes and road salt. Cleaning these prevents the "crunchy" texture that leads to premature failure.
- Window Sweeps: The horizontal rubber strips at the base of the side windows prevent water from entering the inside of the door panel. If these are dry, water will rust the window regulators and damage the speakers.
- Trunk and Hood Barriers: Apply the same cleaning and conditioning logic to the trunk seal. A failed trunk seal leads to a damp spare tire well and a persistent musty smell in the cabin.
By treating these rubber components as a priority, you ensure the car remains a sealed environment. These simple steps eliminate the need for expensive interior repairs caused by water intrusion and keep the driving experience refined.
.png)