 (Image via
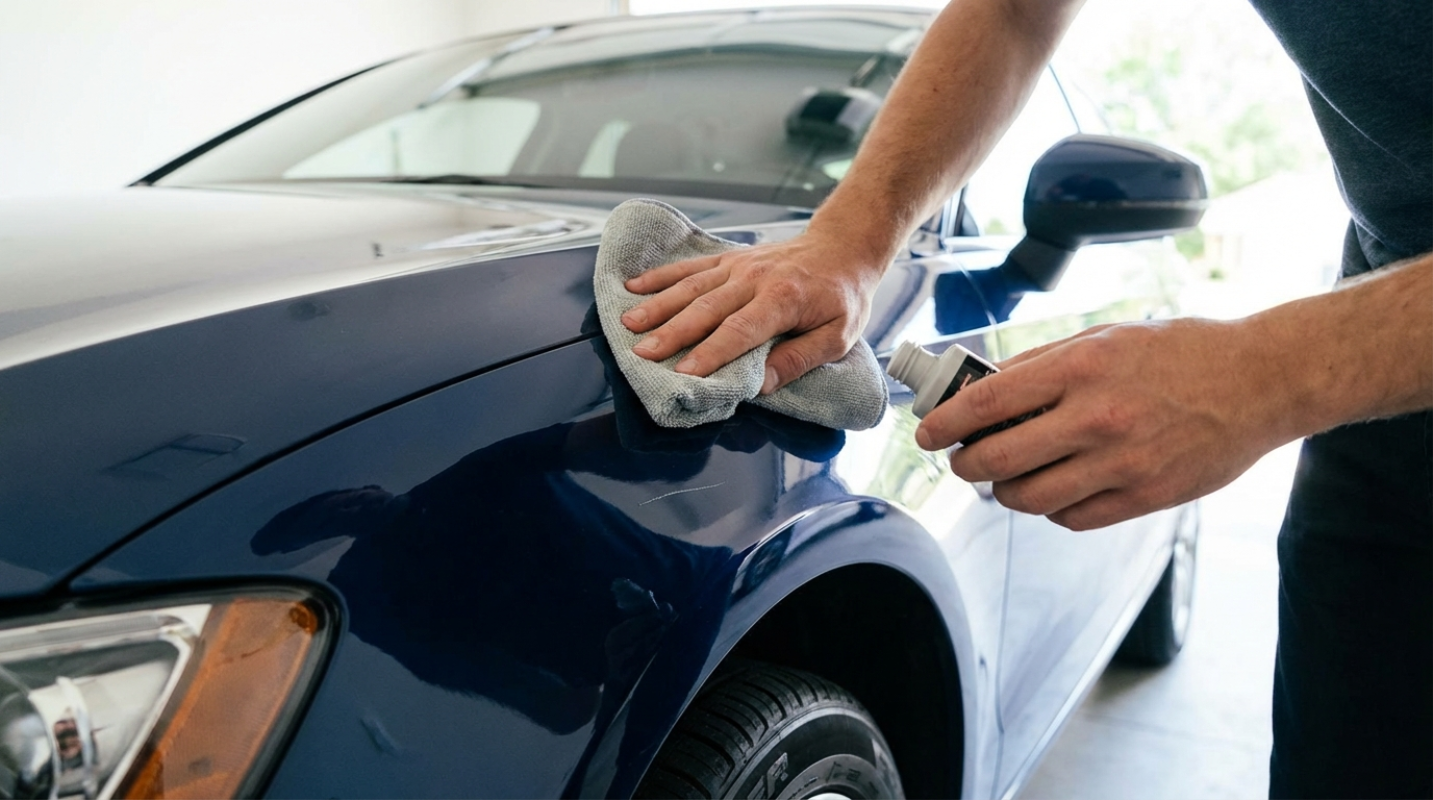
Of all the things you can do to keep your car happy and healthy, checking the engine oil is one of the most important. It is also one of the easiest. Think of your car's engine oil like the water you drink. You wouldn't try to run a marathon without staying hydrated, and your car's engine feels the same way about its oil. This critical fluid lubricates hundreds of moving parts, cleans away gunk, and helps prevent your engine from getting dangerously hot.
Running low on oil is a recipe for disaster, leading to friction, overheating, and eventually, catastrophic engine failure. We are talking about a level of damage that can cost thousands of dollars to fix—sometimes more than the car is even worth. Learning to check your oil takes less than five minutes, costs nothing, and gives you the power to spot a problem before it becomes a wallet-destroying nightmare.
The Fundamental Science of Engine Lubrication
To understand why checking your oil is so important, you first have to understand what it actually does inside that heavy metal block under your hood. An engine is a collection of metal components—pistons, valves, camshafts, and bearings—that move at incredibly high speeds. Without a thin film of oil separating these parts, they would grind against each other, creating intense heat and shearing off tiny flakes of metal.
- Heat Dissipation: While your radiator handles most of the cooling, oil is responsible for cooling the parts that the coolant cannot reach. It carries heat away from the combustion chamber and moving parts, preventing "heat soak" that can warp metal.
- Cleaning Properties: Modern oils contain detergents that suspend dirt and carbon deposits. Instead of these contaminants settling on engine parts and forming "sludge," the oil keeps them moving until they can be trapped by the oil filter.
- Corrosion Protection: Oil coats internal surfaces, protecting them from the moisture and acids that are natural byproducts of the combustion process.
Strategic Preparation for an Accurate Reading
Before you even think about popping the hood, you need to set the stage for an accurate reading. This is where many drivers make their first mistake.
- Level Ground: Park your car on a flat surface. If your car is on a hill, the oil in the oil pan will slosh to one side, and you won't get a true measurement. It would be like trying to measure a cup of water while tilting the measuring cup.
- Thermal Management: While some manufacturers suggest checking oil when the engine is cold, most recommend doing it when the engine is warm. Drive the car for a few minutes, then park it, turn it off, and wait about five to ten minutes. This allows the oil to drain back down into the pan. Checking it immediately after shutting the engine off will show a falsely low level because the oil is still coating the upper parts of the engine.
- Supplies: Grab a clean, lint-free cloth or a heavy-duty paper towel. You want something that won't leave fibers behind on the dipstick.
Locating and Removing the Diagnostic Dipstick
Now it's time to open the hood and find your target.
- The Latch and Prop: The hood release is usually inside the cabin, near the driver's left knee. Once pulled, find the safety latch under the front lip of the hood, lift, and secure it with the prop rod.
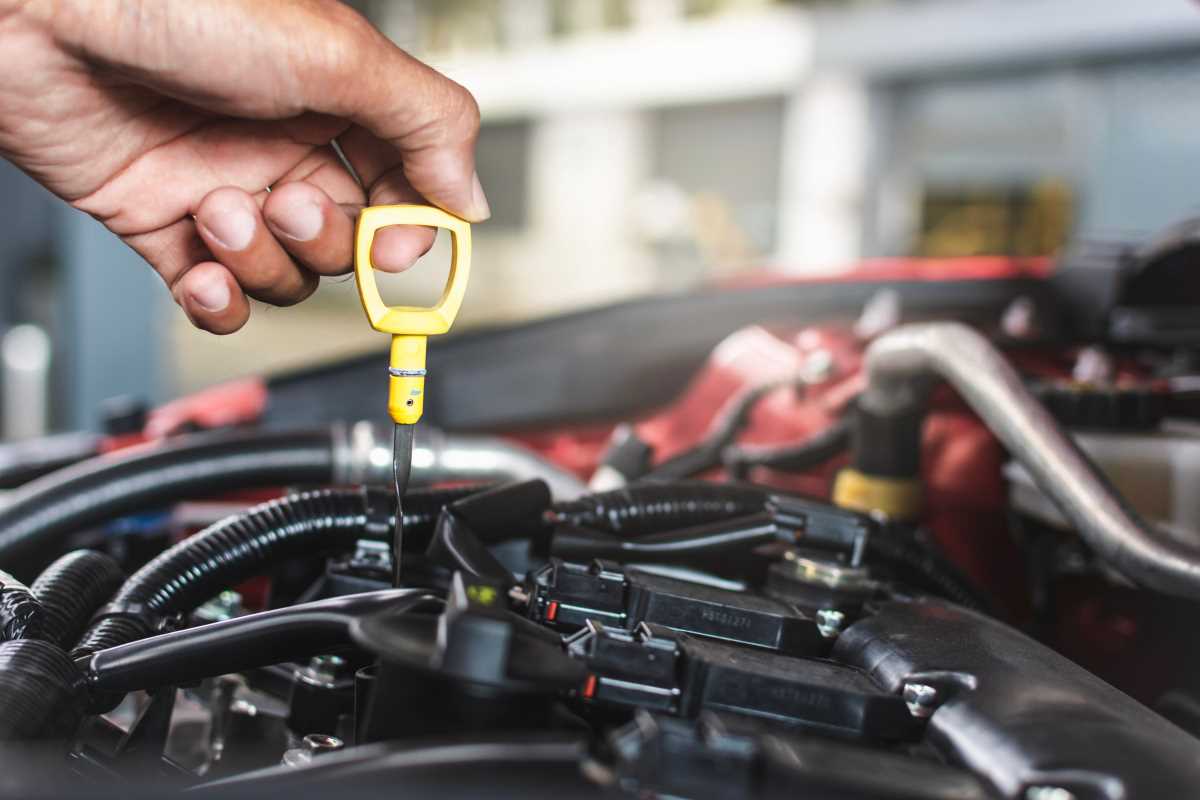
- Identification: Look for a brightly colored handle—often yellow or orange—shaped like a ring or a T-handle. This is the top of the dipstick.
- The Initial Pull: Pull the dipstick all the way out. You will see oil on it, but ignore this first reading. Oil splashes around while you drive, so the level on the stick right now is just a messy smear. This first pull is strictly so you can clean the stick off.
The "Wipe and Dip" Technique
- Cleaning the Rod: Wipe the entire metal end of the dipstick completely clean. You want it to look like it just came out of the factory.
- The Deep Dip: Slowly guide the dipstick all the way back into the tube. Make sure you push it down until it is fully seated. If you leave even a quarter-inch gap, your reading will tell you that you are lower on oil than you actually are.
- The Reveal: Pull the dipstick out again, holding it horizontally. If you tip it vertically, the oil might run down the stick and give you a false reading.
Decoding the Dipstick Markings
Look closely at the tip of the stick. You will see two markings. Depending on your car, these might be two small holes, two lines, or a crosshatched area between two notches.
- The Safe Zone: If the oil streak ends between the two marks, your level is perfect.
- The Low Zone: If the oil is at or below the bottom mark (often labeled "ADD" or "MIN"), you are at least one quart low.
- The Danger Zone (High): If the oil is significantly above the top mark, your engine has been overfilled. This is just as dangerous as being low, as the spinning crankshaft can whip the excess oil into a foam, which cannot be pumped through the engine effectively.
Assessing Oil Health Through Color and Texture
While you are looking at the level, use your eyes and nose to check the "health" of the oil. It’s like a liquid blood test for your car.
- Honey-Amber: This is fresh, healthy oil.
- Dark Brown or Black: This is normal for oil that has been in the car for a few thousand miles. It means the detergents are doing their job and holding onto contaminants.
- Milky or Frothy: If the oil looks like a chocolate milkshake or has white foam, stop. This usually means coolant is leaking into the oil (likely a blown head gasket). This is a mechanical emergency.
- The Grit Test: Rub a drop of oil between your thumb and forefinger. It should feel smooth. If you feel grit, sand, or see tiny metallic sparkles, your engine is literally eating itself, and you need a professional inspection immediately.
The Topping-Off Process
If your reading showed that you are low, it is time to add oil.
- Find the Cap: Look for a large screw-off cap on top of the engine, usually marked with an oil can symbol or the words "Engine Oil."
- The Correct Grade: Check your owner’s manual for the specific viscosity (like 5W-30). Using the wrong weight can affect your fuel economy and engine protection.
- Slow and Steady: Use a funnel to avoid spills on the hot engine. Add about half a quart at a time. Wait a minute for the oil to reach the pan, then re-check the dipstick.
- Secure the System: Once the level is near the top mark, screw the cap back on tightly. Ensure the dipstick is pushed all the way back into its tube.
Summary Checklist for Regular Maintenance
To keep this process simple, try to integrate it into your regular routine:
- Check your oil every other time you fill up your gas tank.
- Always check before and after a long road trip.
- Keep a spare quart of the correct oil and a clean funnel in your trunk.
- Never ignore an "Oil Pressure" warning light on your dashboard—if it comes on, pull over and shut the engine off immediately.
By taking these five minutes once a month, you aren't just checking a fluid level; you are actively extending the life of your vehicle and ensuring that your Saturday morning errands don't turn into a multi-thousand-dollar nightmare at the repair shop.
Disclaimer: This information is for educational purposes. Always refer to your vehicle's specific owner's manual for manufacturer-recommended maintenance intervals and fluid types. Articles on affordableautomotiveservices.com do not provide professional or legal advice.
.png)